
Newsletter mit Bausteinen erstellen
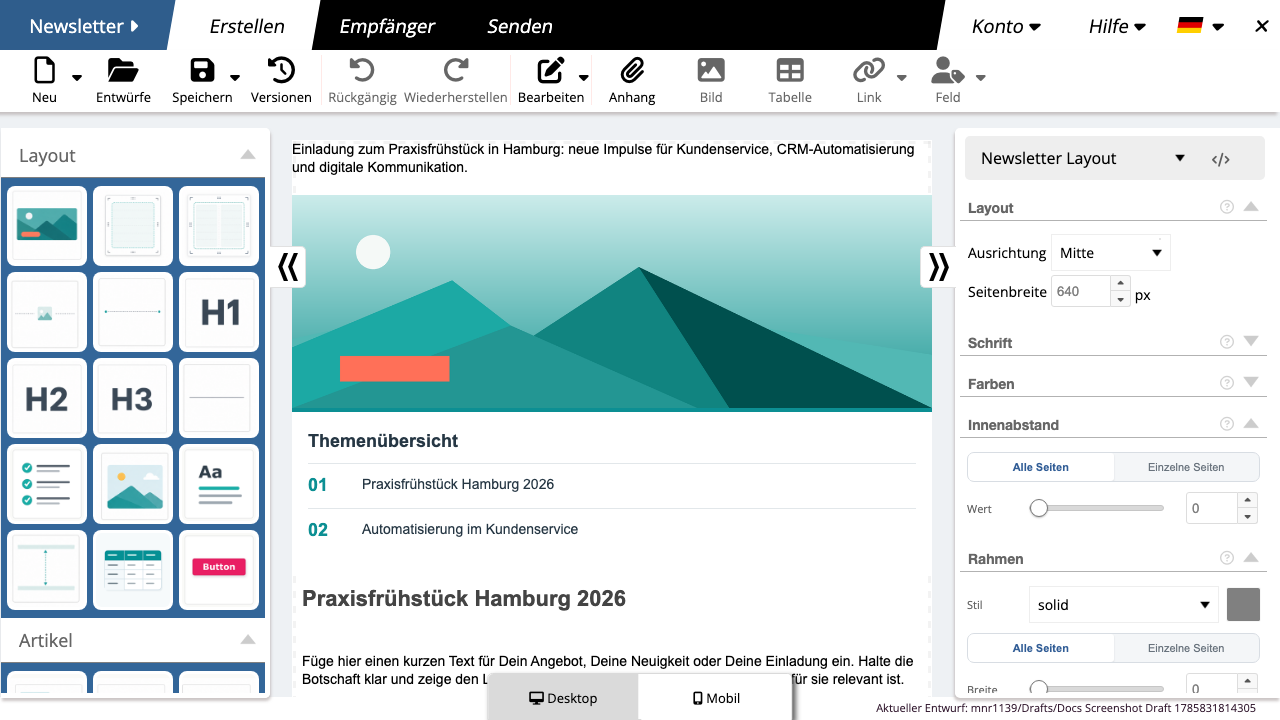
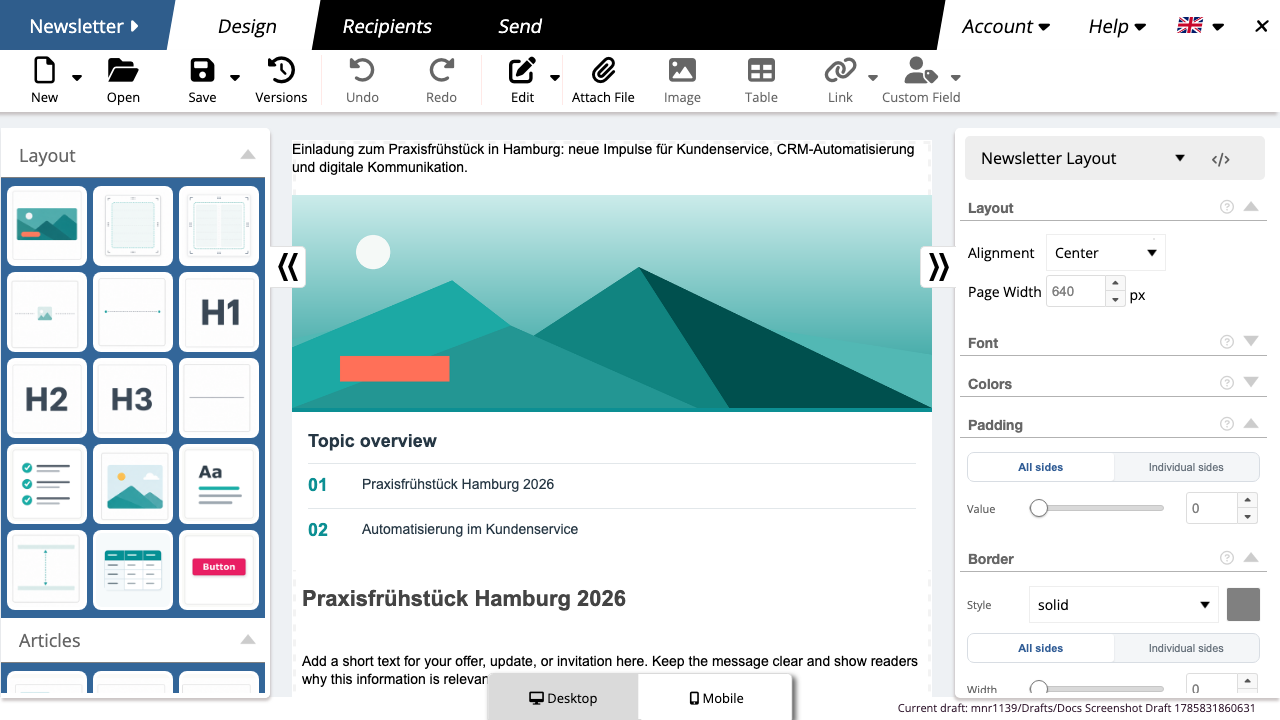
Die Elementleiste enthält Bausteine für Aufbau, Inhalt und Conversion. Ziehe einen Baustein in den Newsletter oder klicke ihn an, wenn der Editor den Einfügeort anbietet. Klicke anschließend auf den eingefügten Baustein, um seine Einstellungen im Style Editor zu öffnen.
Bevor Du beginnst
Lege zuerst einen Entwurf oder eine Vorlage an. Bausteine sind immer Teil dieses Entwurfs: Wenn Du einen Entwurf schließt, ohne ihn zu speichern, bleiben neu eingefügte Inhalte nicht erhalten. Entscheide vor dem Aufbau, welche Kernbotschaft, welche Handlung und welche Zielgruppe der Newsletter hat. Das verhindert, dass sich mehrere ähnliche Bausteine gegenseitig Konkurrenz machen.
Mit Struktur beginnen
Nutze Layout- und Mehrspaltenbausteine für Abschnitte, die nebeneinander stehen sollen. Füge darin Text, Bilder oder Buttons ein. Für den mobilen Newsletter kannst Du Spalten später stapeln oder umkehren.
Inhalte abwechslungsreich aufbauen
Neben Überschriften, Text, Bildern, Buttons und Trennern stehen unter anderem Infoboxen, Zitate, Termine, Angebots- und Zahlenblöcke, gestaltete Tabellen, Social-Media-Links und Kontaktaufrufe zur Verfügung. Verwende wenige, wiederkehrende Bausteintypen, damit der Newsletter ruhig und gut lesbar bleibt.
Die Detailkapitel helfen Dir bei der Auswahl:
- Layout- und Grundbausteine für die Seitenstruktur,
Überschriften, Bilder, Tabellen, Buttons und Abstände;
- Inhalts- und Artikelbausteine für Editorials,
Termine, Kennzahlen, Zitate, Social Media und Handlungsaufforderungen;
- Inhaltsverzeichnisbausteine für automatisch
erzeugte Übersichten;
- Shoppingbausteine für Produkte, Angebote, Gutscheine und
Servicevorteile.
Wähle einen Baustein nach seinem Ergebnis, nicht nur nach seinem Namen: Ein zweispaltiger Bild-/Textbaustein eignet sich beispielsweise für eine Gegenüberstellung, während ein Angebots- oder Kontaktbaustein eine einzelne Handlung deutlich hervorhebt.
Inhaltsverzeichnis einfügen
In der Elementleiste findest Du Inhaltsverzeichnisse als klassische Liste, kompaktes Menü, horizontale Menüleiste und nummerierte Übersicht. Nach dem Einfügen sammelt der Baustein passende Überschriften aus dem Newsletter und verlinkt sie automatisch.
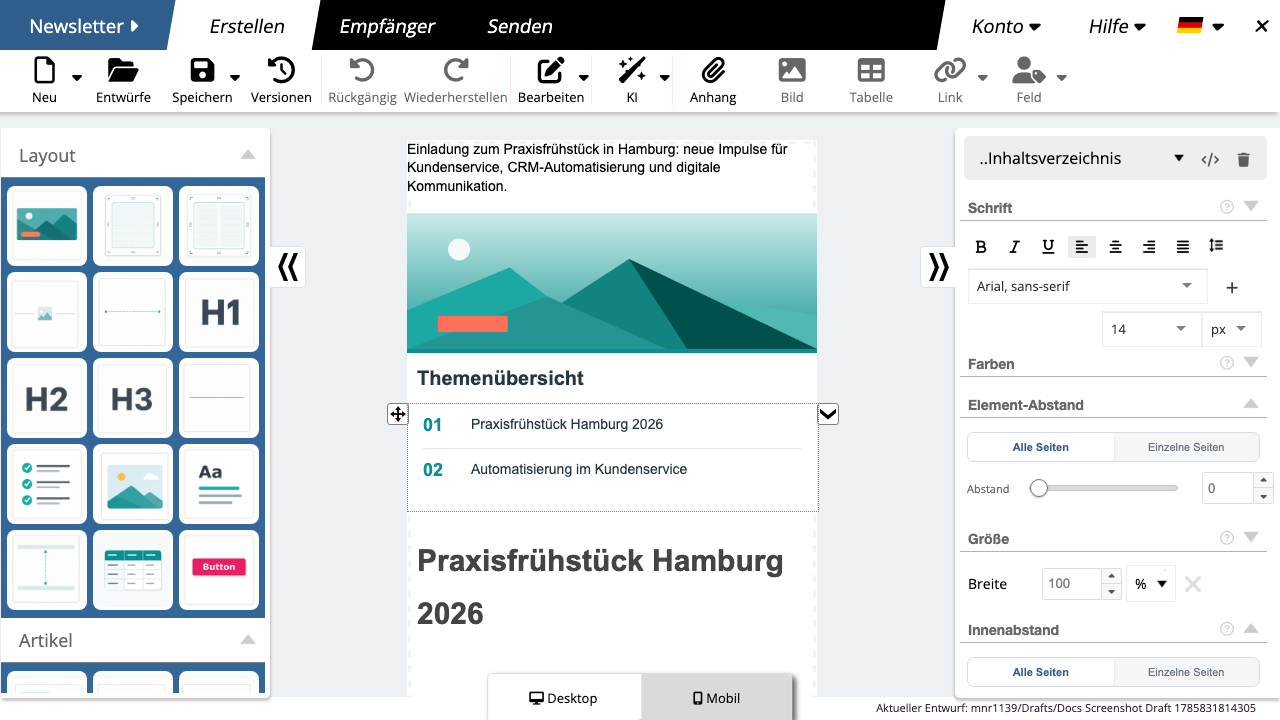
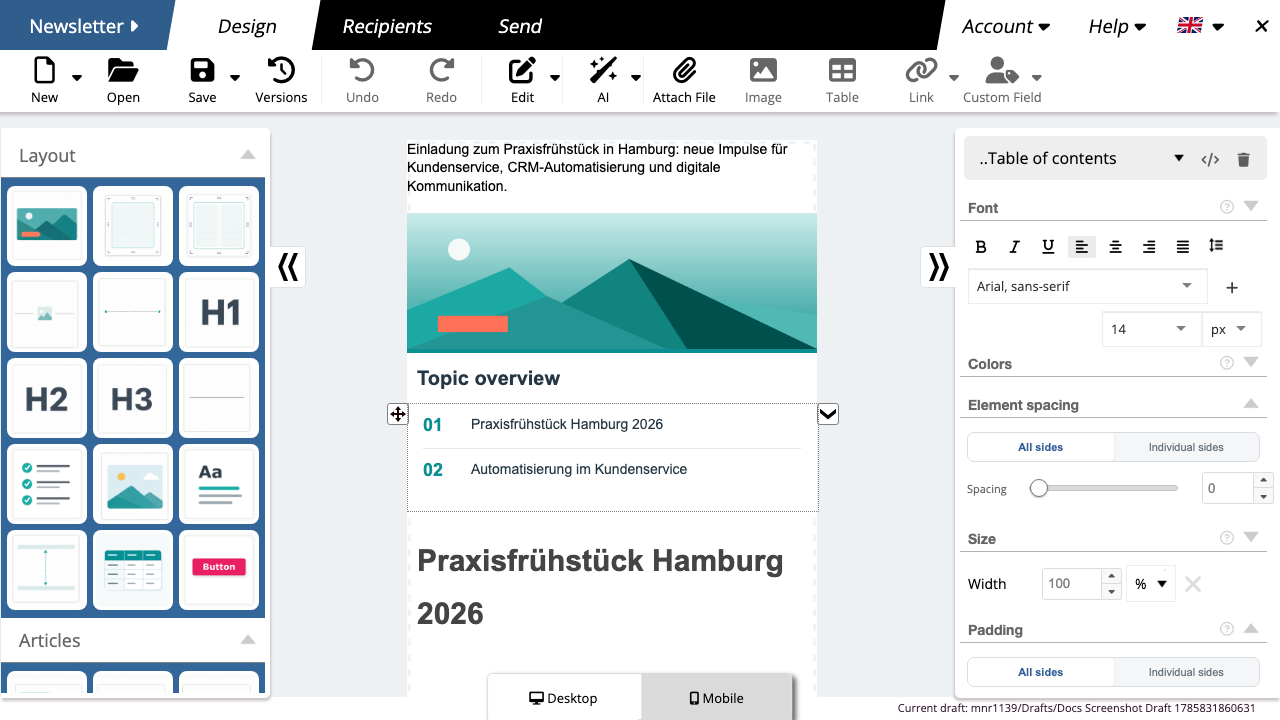
Im Style Editor legst Du fest, ob H1-, H2- und H3-Überschriften oder zusätzliche Lesezeichen berücksichtigt werden. Du kannst nur nachfolgende Inhalte oder den gesamten Newsletter einbeziehen und die Nummerierung ein- oder ausschalten. Wähle Jetzt aktualisieren, wenn Du Überschriften geändert hast und die Anzeige sofort neu aufbauen möchtest.
Das Inhaltsverzeichnis ist ein gemeinsamer Block. Sein Titel und seine Einträge können trotzdem getrennt gestaltet werden. Ändere die automatisch erzeugten Linktexte nicht einzeln; passe stattdessen die zugehörigen Überschriften im Newsletter an. Einen Vergleich aller vier Varianten, der Quellen und möglicher Leerzustände findest Du bei den Inhaltsverzeichnisbausteinen.
Tabellen erstellen und bearbeiten
Der Baustein Tabelle erstellt eine echte Newsletter-Tabelle für übersichtliche Daten, Termine, Programme oder Vergleiche. Klicke in eine Zelle, um sie zu bearbeiten. Mit der Tabulator-Taste wechselst Du zur nächsten Zelle; am Ende einer Tabelle wird eine neue Zeile ergänzt. Leere Zeilen kannst Du wieder entfernen. Verwende Tabellen für zeilen- und spaltenweise Informationen, nicht als Ersatz für das Seitenlayout. Prüfe breite Tabellen zusätzlich in der mobilen Vorschau, damit Spalten auf schmalen Bildschirmen verständlich bleiben.
Shopping-Bausteine verwenden
In der Kategorie Shopping findest Du Produktreihen, Kategorie-Highlights, hervorgehobene Produkte, Gutscheine und Servicevorteile. Nicht jeder Shopping-Baustein kann Produktdaten aus einer Anbindung übernehmen: Einige Bausteine werden bewusst vollständig manuell gepflegt. Wähle bei einem produktbindbaren Baustein anschließend die Verbindung und das Produkt aus. Die ausgewählten Produktdaten sind ein Snapshot; wähle das Produkt erneut aus, wenn Preis, Bild oder Verfügbarkeit aktualisiert werden sollen.
Die Shoppingbausteine zeigen, welcher Baustein sich wofür eignet. Der Artikel Produkte aus Anbindungen verwenden erklärt die Verbindung, Suche und Fehlerzustände.
Bausteine bearbeiten, verschieben oder löschen
Wähle einen Baustein aus und ziehe ihn am sichtbaren Verschiebegriff an seine neue Position. Der Editor markiert zulässige Einfügepositionen. Lösche ihn über das Papierkorb-Symbol in den Elementaktionen. Je nach Baustein stehen dort außerdem Duplizieren, exaktes Verschieben, Sperren oder Als Element speichern bereit.
Achte darauf, nicht in Abstands- oder technische Container einzufügen: Diese Bereiche dienen nur dem Layout. Falls ein Baustein an der falschen Stelle landet, wähle Rückgängig, bevor Du weitere Änderungen vornimmst. Sperren schützt einen Baustein vor den jeweils gewählten Bearbeitungsaktionen; sie ist kein Ersatz für das Speichern eines Entwurfs.
Vor dem Versand prüfen
Ein Baustein ist erst fertig, wenn sein Inhalt, Bild, Link und Alternativtext geprüft sind. Öffne anschließend die mobile Bearbeitung und die Vorschau, Testmail und Barrierefreiheit. So erkennst Du abgeschnittene Inhalte, nicht erreichbare Links und problematische Kontraste vor dem Versand.
> Bausteine sind ein Startpunkt. Passe Text, Bild, Link und Alternativtext an, bevor Du einen Entwurf versendest.
 Deutsch
  English