
Create and send newsletters
In Newsletter , you build a mailing, choose its audience, and submit the reviewed newsletter for delivery. The three main areas Newsletter, Recipients or Send form one continuous workflow: create the content, check the recipient selection, and only then confirm delivery.
Before you start
For a real mailing, you need:
- a maintained recipient list with at least one reachable address;
- an approved From Address;
- enough email credits for the usable recipient count;
- completed content, subject, required company details, and an unsubscribe link;
- a test address and enough time for the final checks.
Save the newsletter as a named draft early. This does not replace preview and a test message, but it protects your work. If the list or From Address is not ready yet, you can build the content first and complete those requirements before delivery.
1. Start from a suitable template
- Öffne im Newsletter-Editor das Menü New and choose Vorlage wählen….
- Wähle in der Vorlagenauswahl System Templates, Team Templates, My Templates , or Mailings. Welche Quellen verfügbar sind, hängt von Deinem Konto und seinen Berechtigungen ab.
- Öffne eine Vorlage, deren Aufbau zum geplanten Mailing passt. Ersetze danach alle Beispieltexte, Bilder, Links und Kontaktdaten.
- Wenn Du statt einer Vorlage eine HTML-Datei übernehmen möchtest, verwende den getrennten Befehl Neu > HTML Datei importieren….
- Select Save and give the draft a clear name.
A template supplies a structure, not automatically send-ready content. For repeatable colors, fonts, logos, and imprint details, you can create and apply a Brand Profile. choosing a template.
2. Build and style the content
The blocks are on the left, the canvas is in the center, and the Style Editor is on the right. Drag a block to the intended target position, select it on the canvas, and edit its content and appearance on the right. Undo or Redo help during the current editing session; use Save.
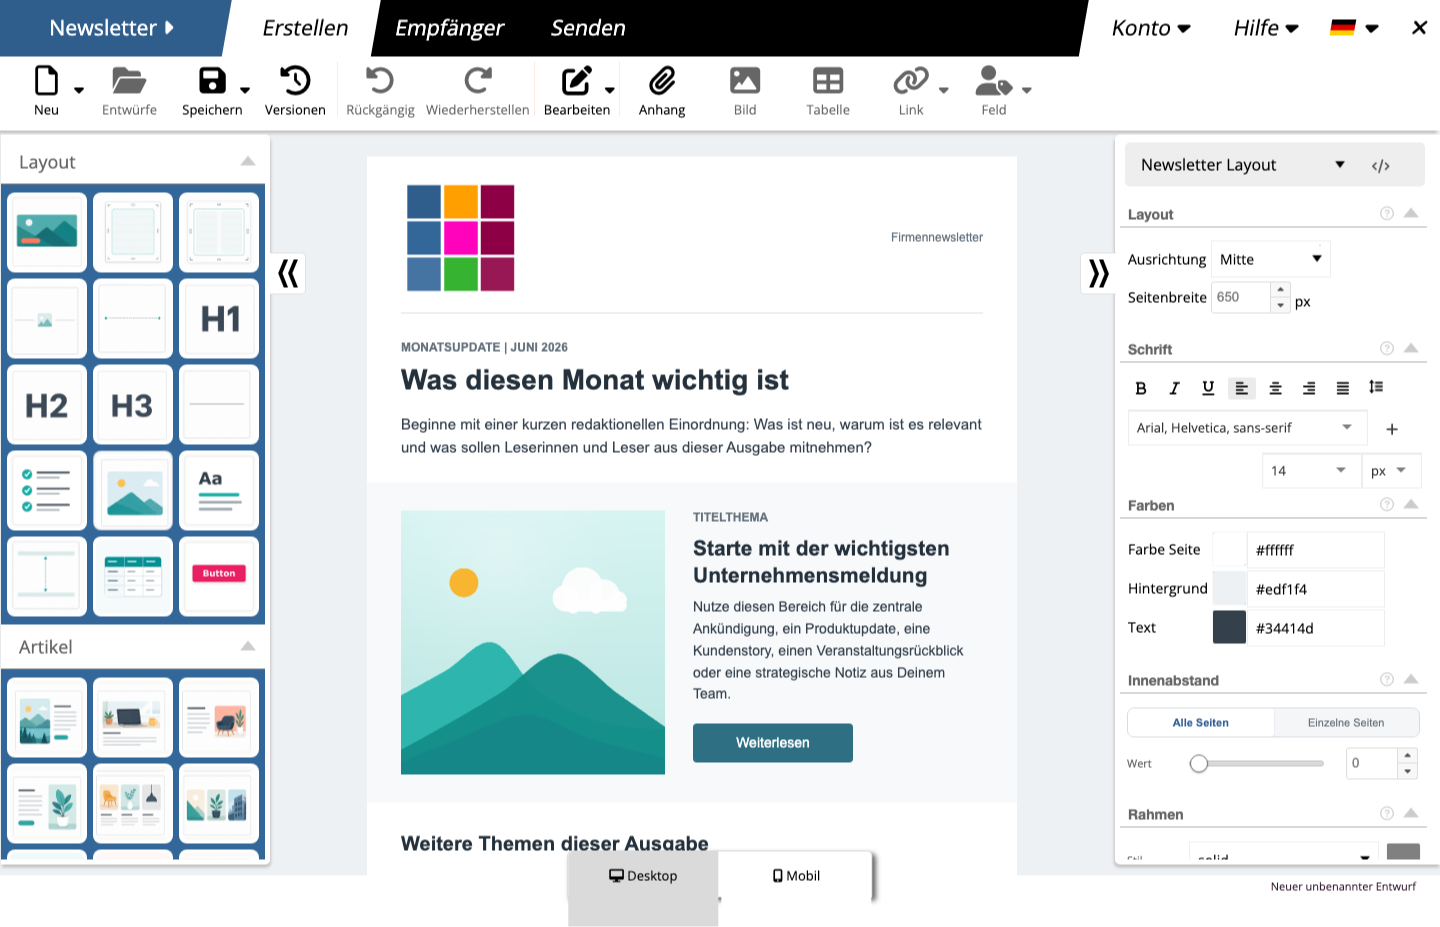
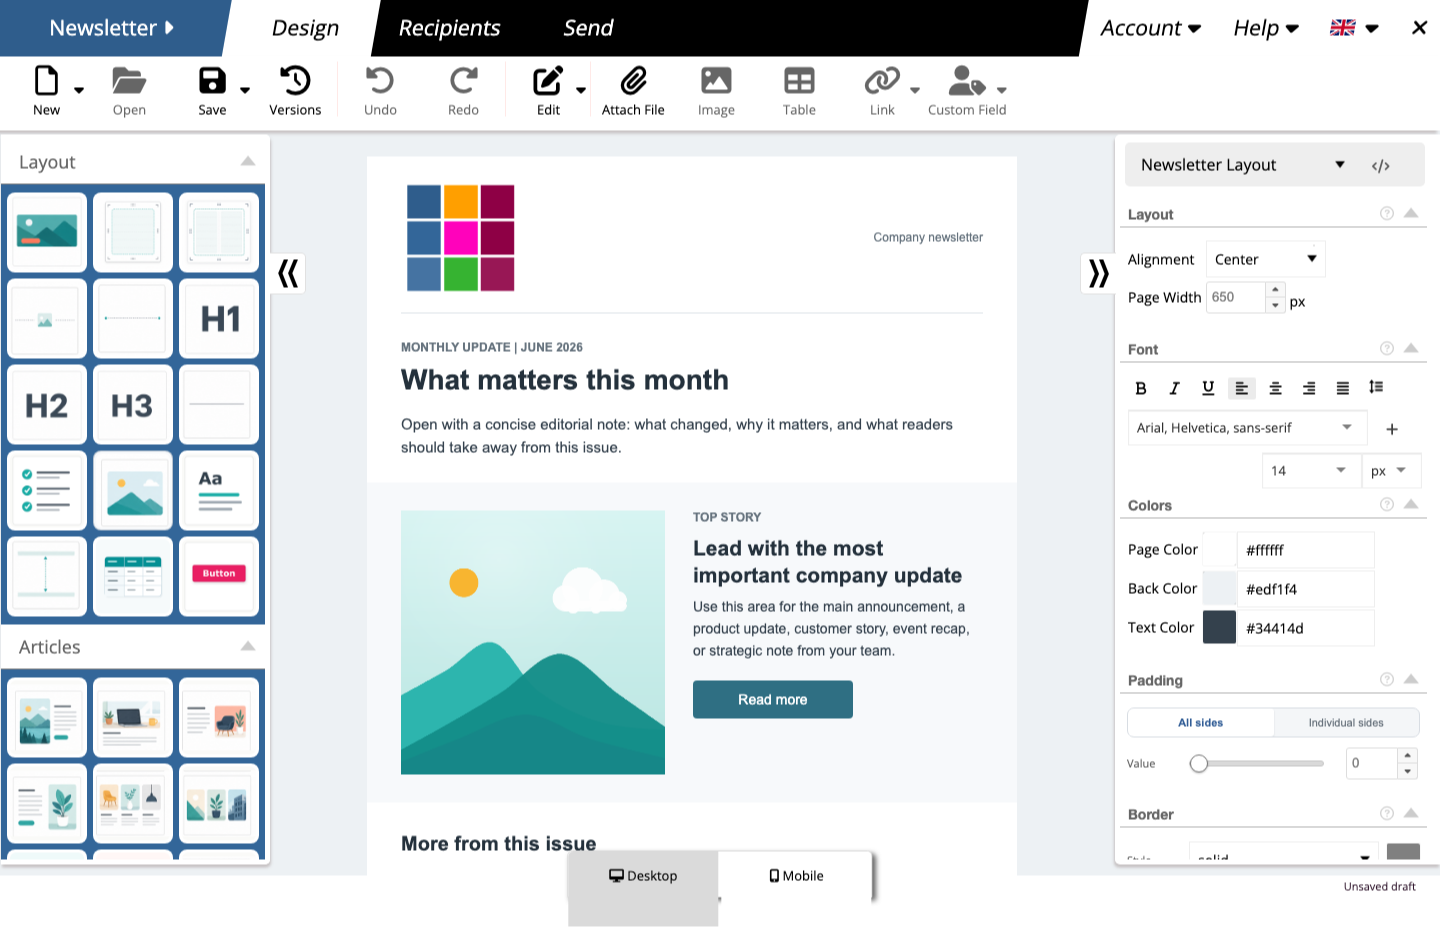
Newsletter with blocks, canvas, and Style Editor
Do not limit the content check to desktop view:
- replace placeholders and check heading, copy, and reading order;
- add working links and meaningful alternative text;
- check logo, sender details, imprint, and unsubscribe option;
- open mobile view for multi-column content;
- save again after substantial changes.
For block handling, see building newsletters with blocks. You can then continue with styling newsletters, links and personalization or mobile newsletter editing.
3. Check the recipient list and personalization
- Switch to Recipients.
- Wähle in der Listennavigation genau die Liste, die dieses Mailing erhalten soll. Ein aktiver Filter oder eine Suche schränkt die spätere Auswahl weiter ein.
- Kontrolliere die angezeigte Trefferzahl und öffne einige Datensätze. Prüfe besonders Felder, die Du für Anrede oder Personalisierung verwendest.
- Korrigiere die Liste oder den Filter, wenn Kontakte fehlen oder nicht zur Zielgruppe gehören. Lösche Kontaktdaten nicht nur, um einen einzelnen Testversand vorzubereiten.
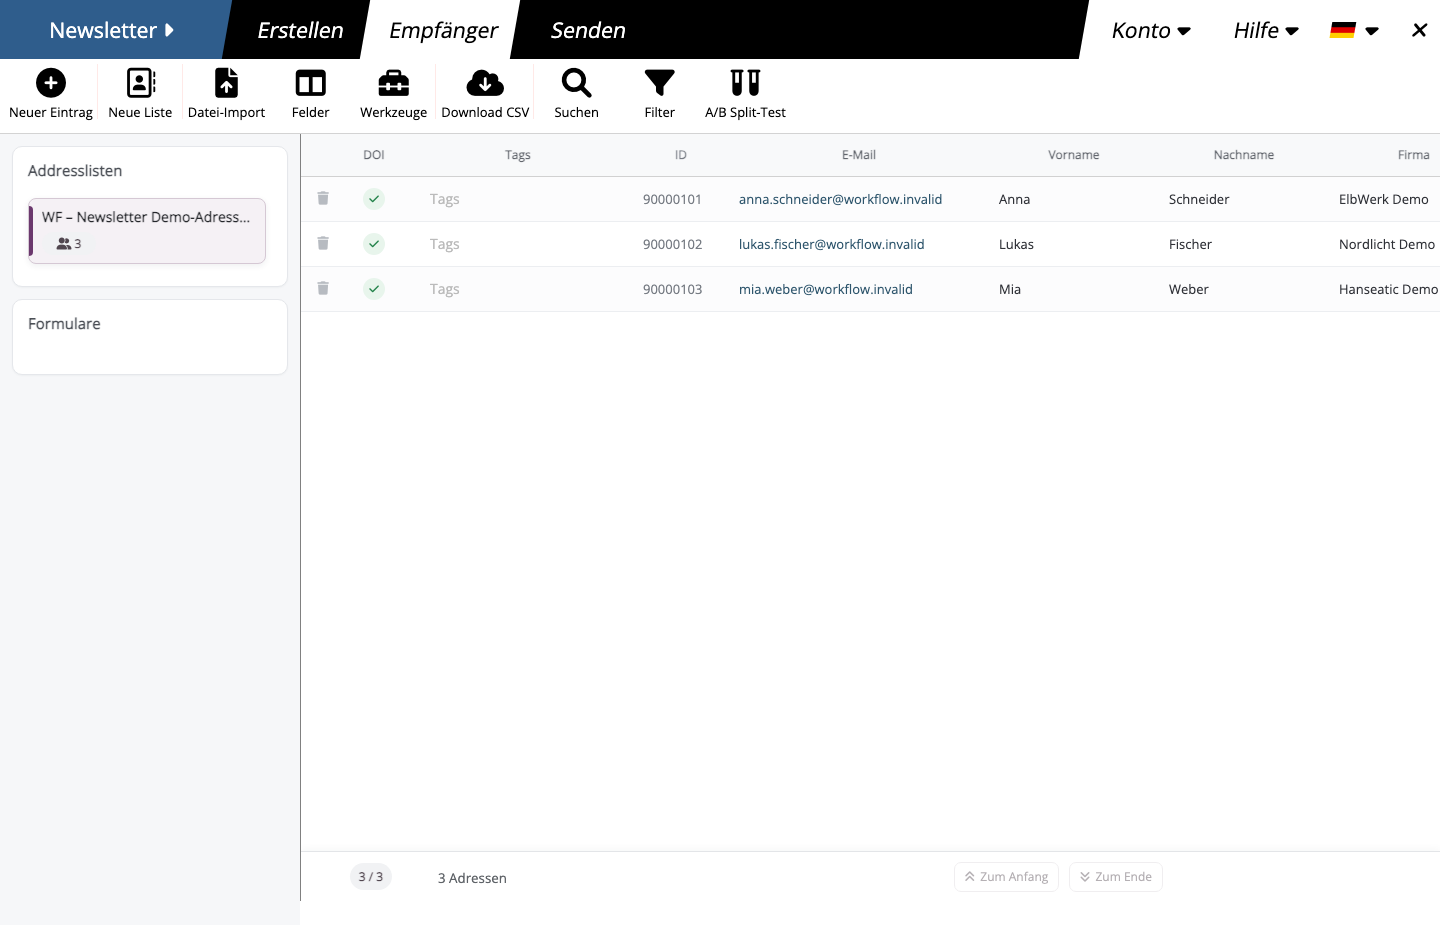
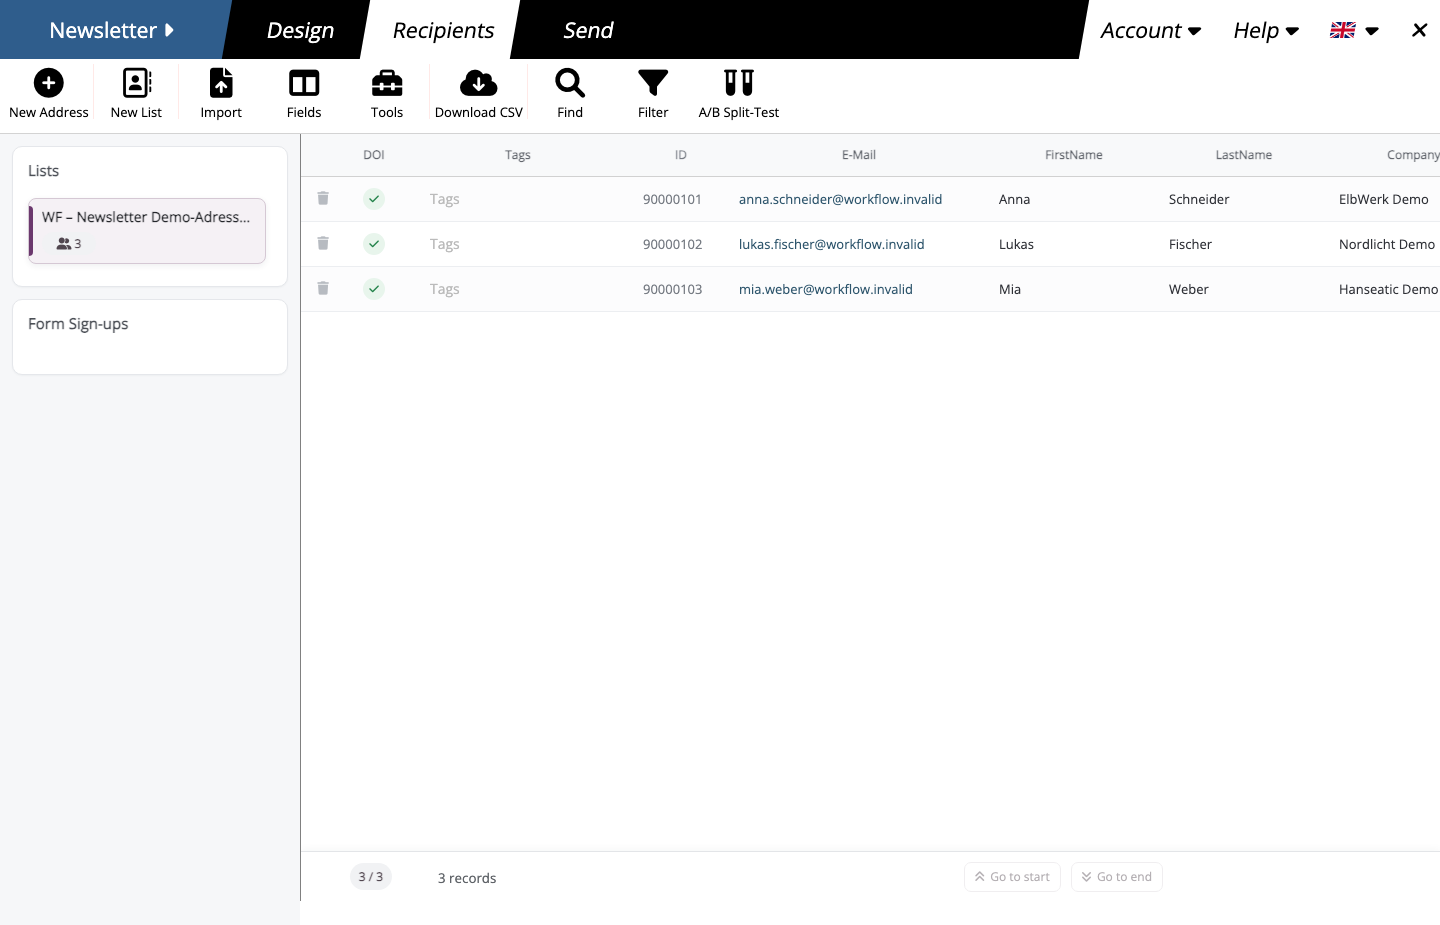
Selected recipient list with a verifiable result count
The deliverable count can be smaller than the original list. Unsubscribed, undeliverable, or otherwise suppressed addresses must not be mailed again. If another process changes the list while you are preparing the mailing, reload it before the final check.
4. Check preview and a test message
Open Send. mailfino now combines the current recipient selection with the newsletter.
- Select the approved address under From Address and enter a useful line under Subject .
- Wechsle mit den Pfeilen durch mehrere Vorschaudatensätze. Prüfe mindestens einen vollständig gepflegten Kontakt und einen Kontakt mit leeren Personalisierungsfeldern.
- Compare Desktop, Mobile or Plain Text. Öffne außerdem die Barrierefreiheitsprüfung und behebe relevante Hinweise.
- Under Send Test Message eine Testmail. Öffne sie in einem echten Mailprogramm und möglichst zusätzlich auf einem Smartphone. Prüfe Absender, Betreff, Darstellung, Links, Anhänge, Personalisierung und Pflichtangaben.
A successful test message does not send anything to the selected list. It shows how the current version arrives outside the editor. See preview, test email, and accessibility.
5. Set and confirm delivery
In Submit Mailing , choose Deliver immediately or Deliver on. Only with Deliver on can you also use spread over to distribute a larger campaign across hours or days. Then check the tracking choice and, if needed, the campaign name for Google Analytics / Matomo.
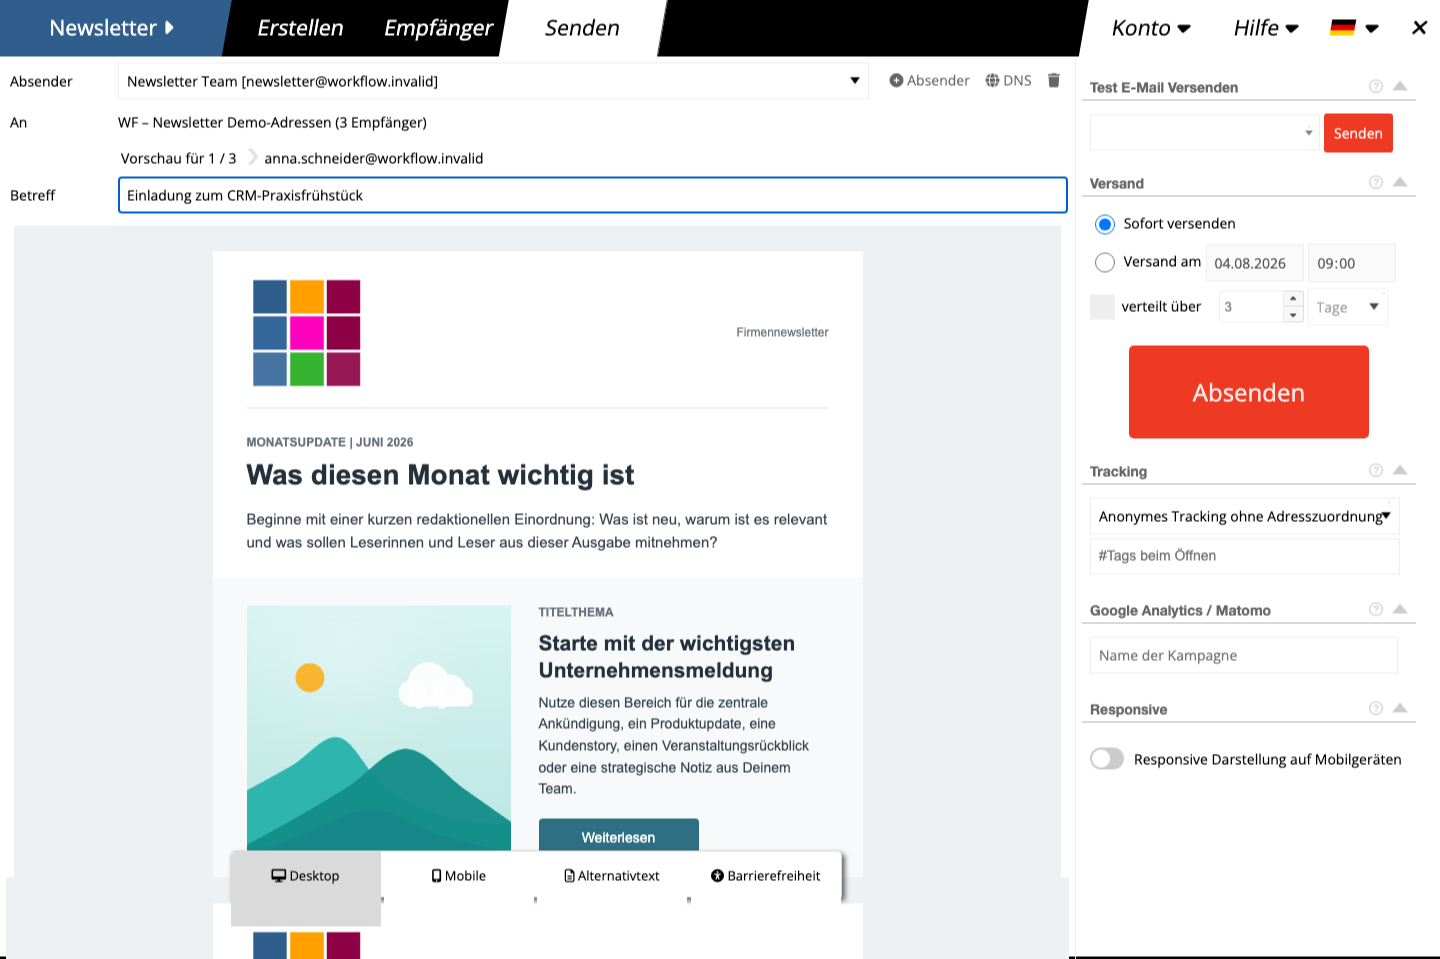
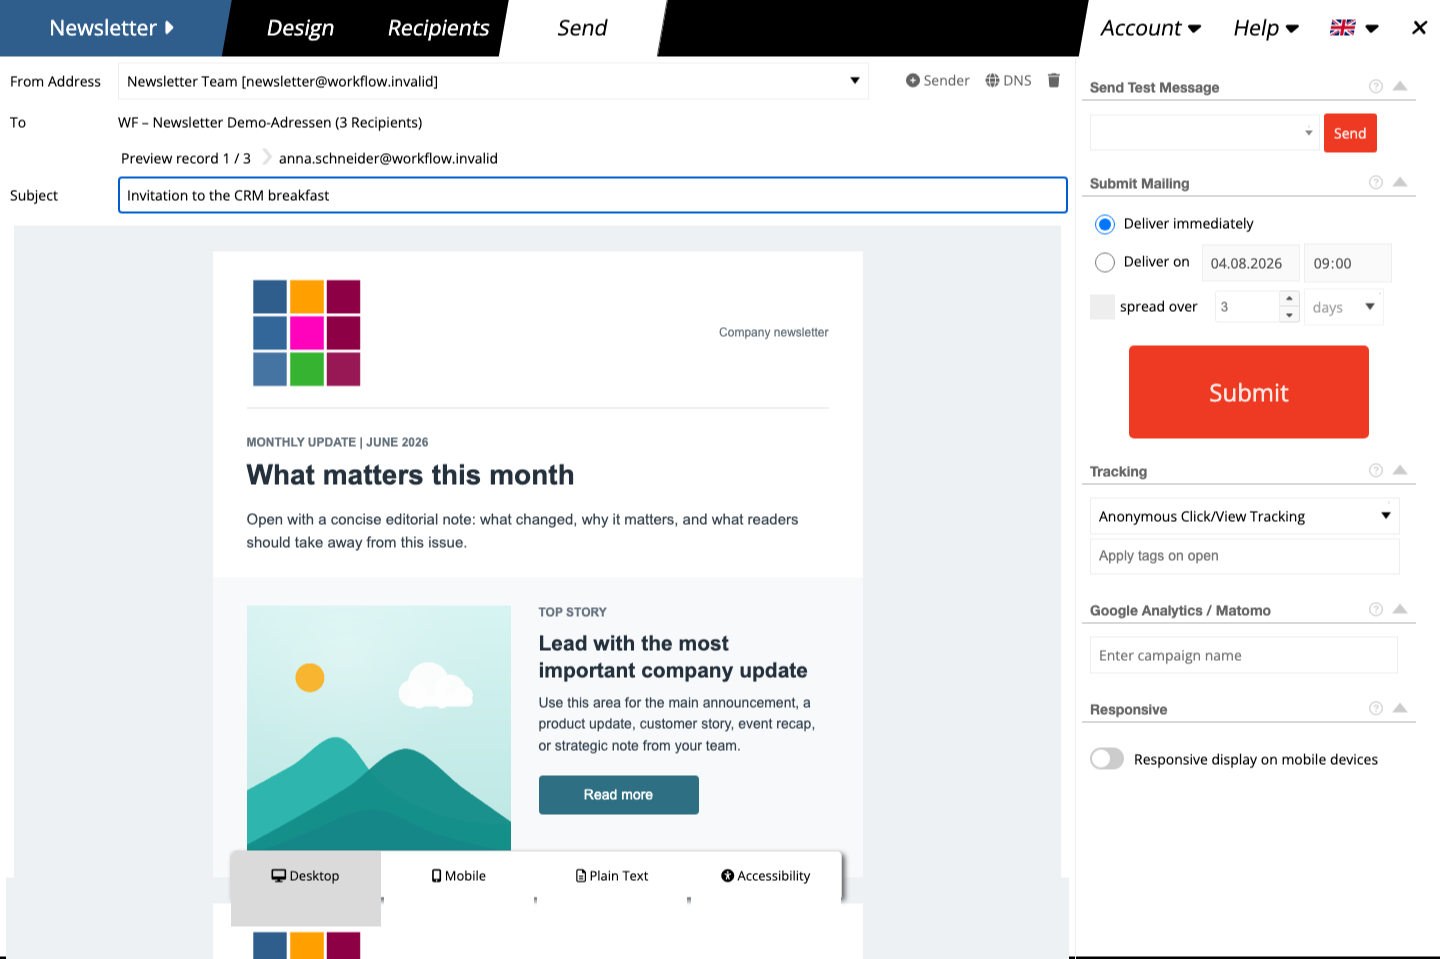
Send-ready preview with From Address, subject, recipient count, and delivery options
Read the complete Confirm Submission summary: From Address, subject, list, final recipient count, schedule, and required and available credits must match your plan. Only Submit places the delivery order. After successful submission, mailfino reloads the mailings; completed newsletters are available under Finished.
If delivery cannot be submitted
Read the dialog message before trying again. Common causes include:
- no approved From Address selected;
- an empty subject;
- an empty, stale, or unauthorized recipient selection;
- insufficient email credits for the final recipient count;
- a missing standard unsubscribe link;
- a sender domain whose authorization is not fully verified.
In the cloud service, a missing standard unsubscribe link and an incomplete SPF/DKIM check appear as warning gates that can be bypassed deliberately. For a regular mailing, resolve them instead of routinely ignoring the warning.
Correct the cause in the relevant area, reload changed recipient data, and repeat preview and the test message. A missing unsubscribe link or faulty domain configuration should be resolved, not merely dismissed.
Further topics
If this is your first mailing, continue with choosing a template, saving and managing drafts, building newsletters with blocks , and finally preview, test email, and accessibility.
 Deutsch
  English