Personalize newsletter

Personalization fields
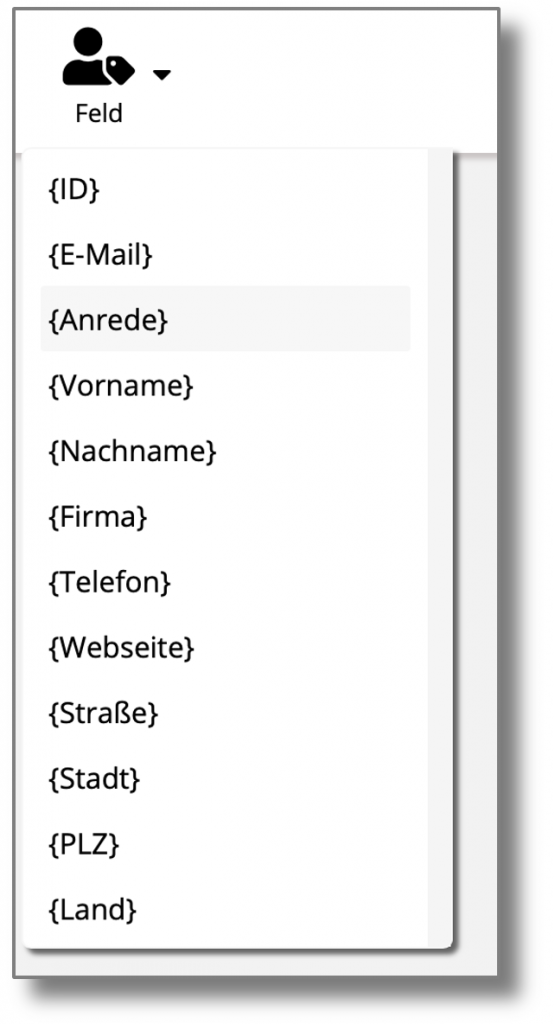
Texts in the newsletter and in automatically sent e-mails (except activation e-mails) can be personalized with all fields contained in the address list.
To insert a personalization, click on the corresponding position in a text element. Then move the cursor to Field in the toolbar and select the field to be inserted.
All fields that you have provided for this in cobra are available. All email fields as well as the subject (in the "Send" area) and the alternative text can be personalized.
Personalization fields must be inserted manually in the subject line and in the alternative text. To do this, enter the field name in square brackets, paying attention to the correct capitalization
Example: {first name}
The preview function in the "Send" area shows how the personalization will look for each recipient.
The subject line can currently only be personalized if it does not contain any special characters or umlauts that require the subject line to be encoded. Encoded subject lines cannot be personalized.
Note for cobra users
If you use cobra, it is possible that the desired fields are not available or are empty. In this case, switch to cobra and click on Create newsletter in the [MNR_ProductName] add-in. On the page Personalization fields you can then select all the fields that are to be transferred.
