
Create a new form
To create or edit registration forms, open the tab Forms in the browser or click on Create form in the [ProductName] add-in for cobra.
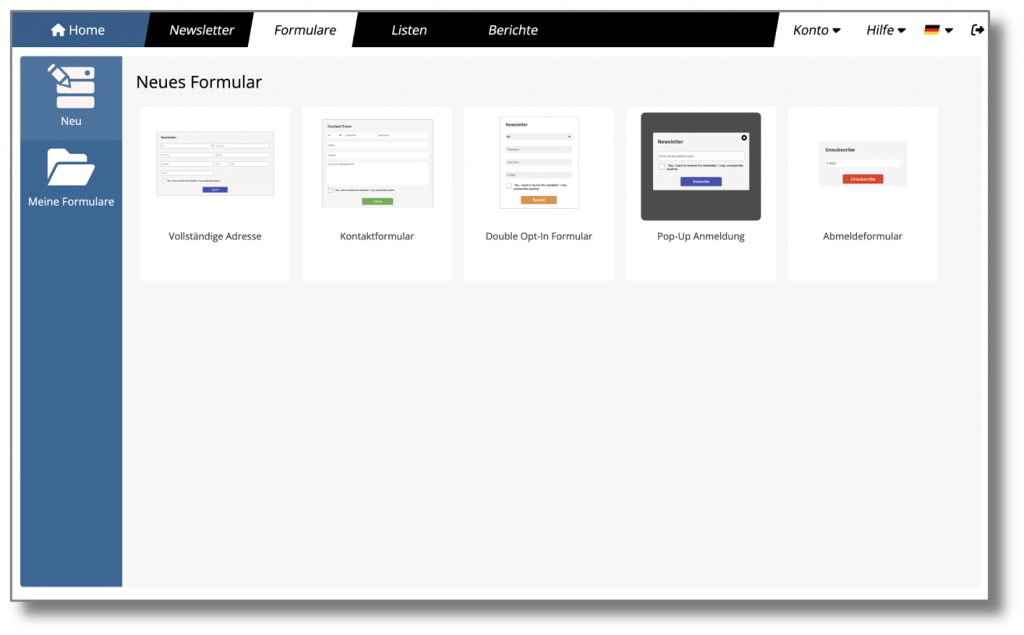
To create a new form, click on one of the templates for forms. The editor for forms opens automatically and the template is loaded.

The form editor works in exactly the same way as the drag & drop newsletter editor. However, there are some options adapted for forms.
Design
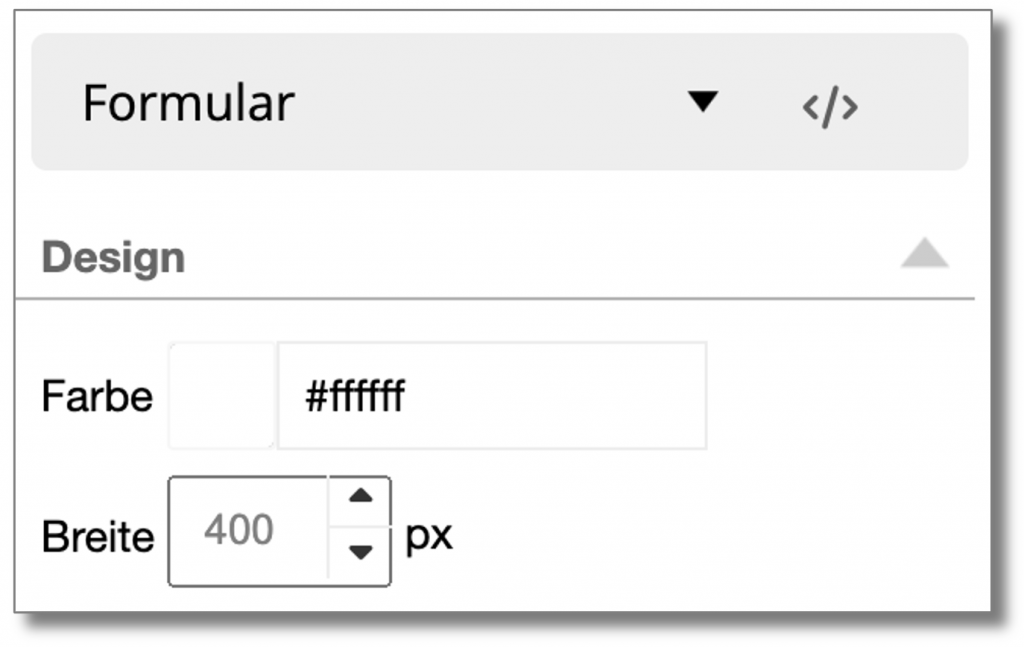
With Color you determine the background color of the form, with Width the width in pixels. The width of the form should match your homepage. Of course, you can also create a very wide form and use it as a landing page.
Behavior
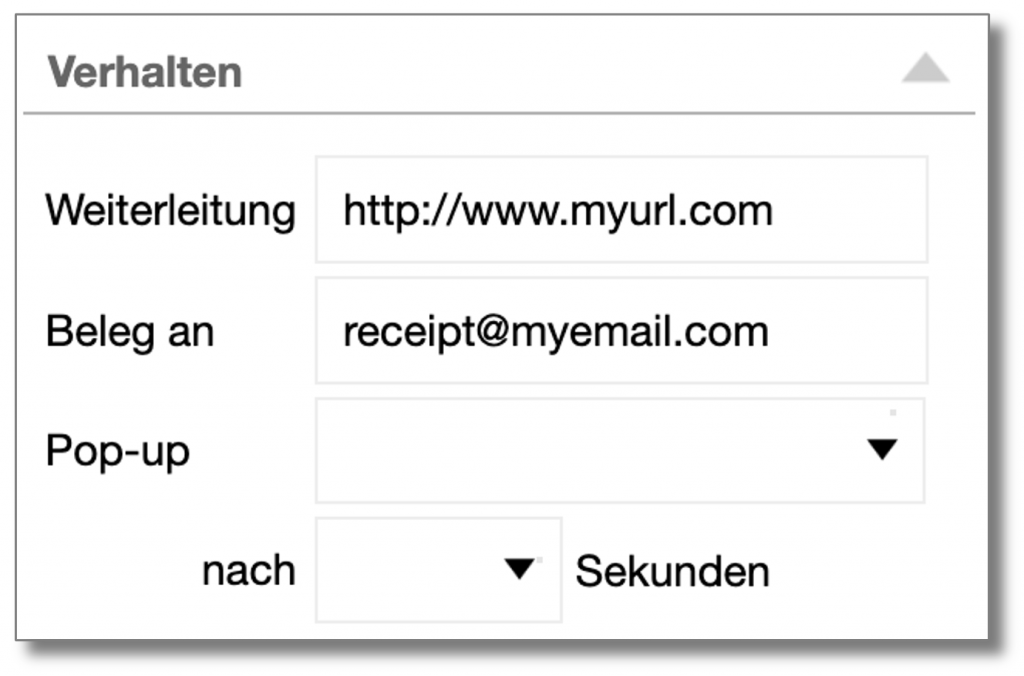
In the field Forwarding enter the URL to which new subscribers should be redirected after clicking on the activation link. If no URL is specified, you will be redirected to a generic "Thank you" page.
In the field Receipt to you can optionally enter one or more email addresses (separated by semicolons) to which an email with the login data will be sent after each successfully confirmed login. If you leave the field empty, no email will be sent.
Pop-up: If your form is to be used as a pop-up form, you can select the animation here and the time at which the form is to be displayed after the page is opened. A pop-up form only appears once per session and is not displayed again for 90 days after it has been sent.
Further options for font, inner spacing and frames work in exactly the same way as in the Newsletter Editor and have been added in the corresponding chapter described in detail.