
Create a subscription management form
If you have numerous addresses in your database and send newsletters on various topics, it would be beneficial if your readers could manage these settings themselves in a subscription management form.
If you use cobra, the new settings should also be automatically transferred to your CRM system.
This example will show you how to set up a form for changing user preferences, which is filled in automatically, requests a double opt-in if required and saves the data in your cobra at the end.
Create form
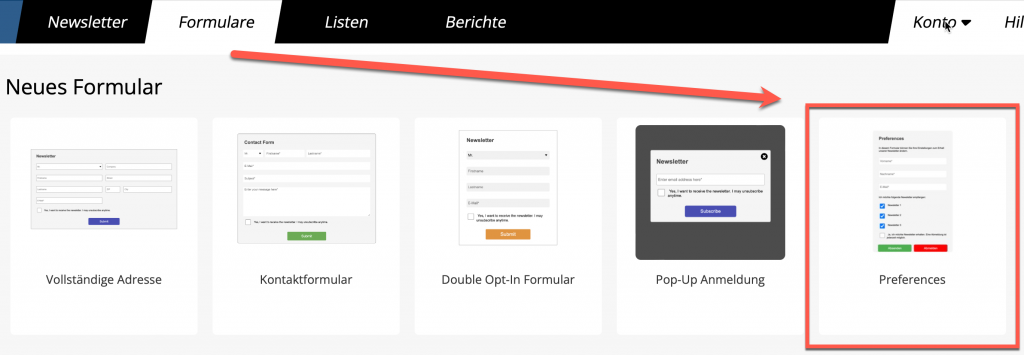
In mailfino, go to the Forms area and create a new form with the "Preferences" template
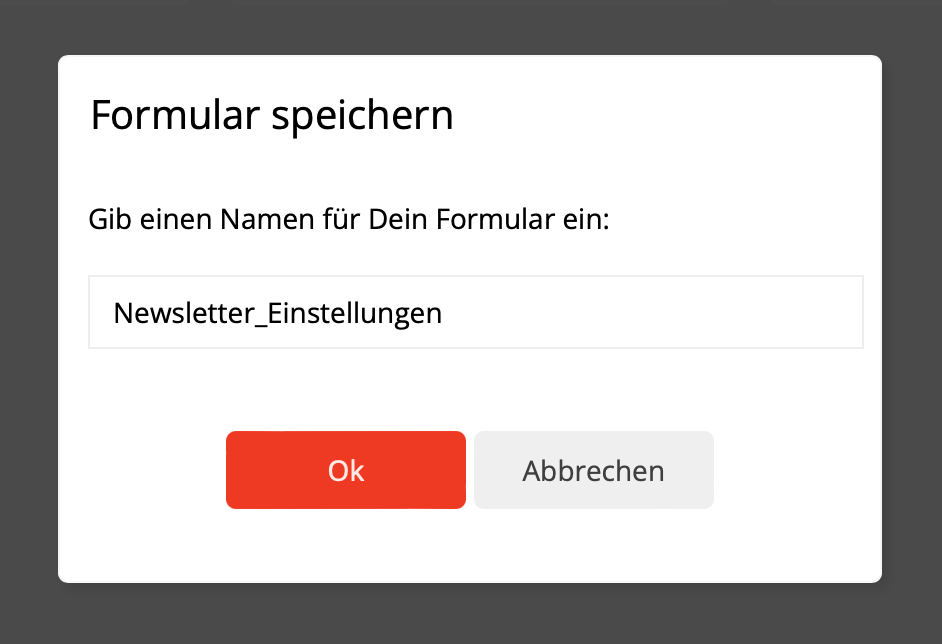
We give the form the name Newsletter_Settings.
Our new form has been created.
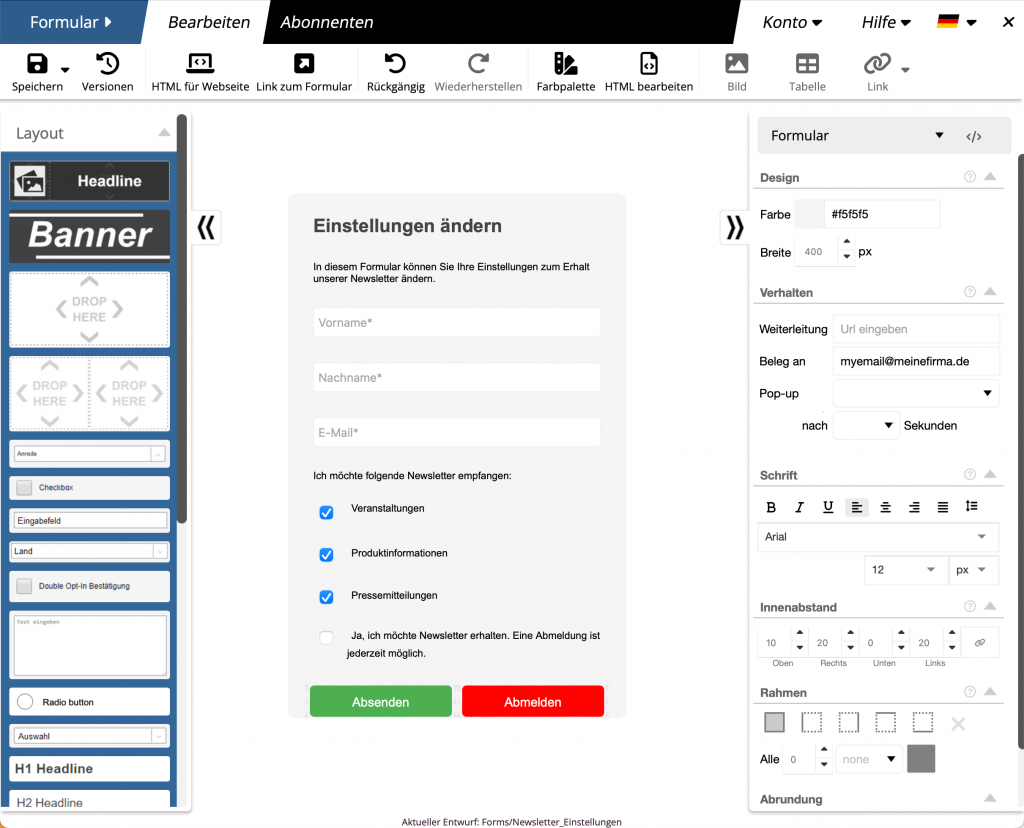
It contains fields for entering first name, surname and email address, all of which are mandatory. Below these are three checkboxes and a DOI checkbox, which can be used to request a double opt-in.
There are two buttons: Submit sends the form with the newly entered data and triggers a double opt-in process if it is a new registration or if the email address has been changed.
Unsubscribe adds the email address to a block list so it is excluded from future mailings. A new double opt-in can remove an address from the block list again.
Customize the form
We want to adapt the form a little to our purposes.
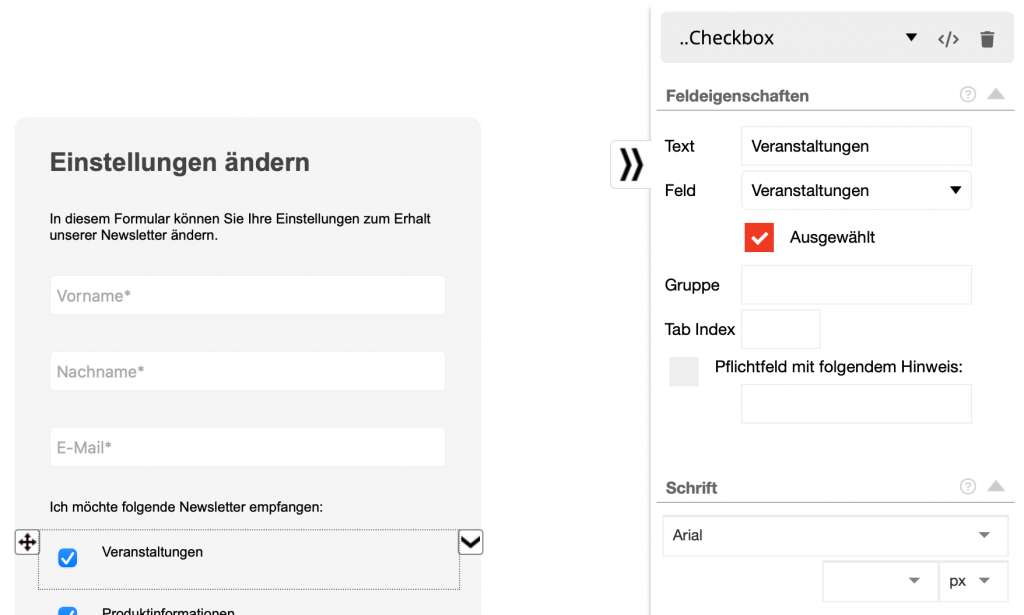
The checkboxes with the names Newsletter 1, Newsletter 2 and Newsletter 3 are renamed to Events, Product information and Press releases.
In addition, each of the checkboxes is assigned the corresponding field in the database. In the following screenshot, the checkbox 'Events' also the field 'Events' assigned:
If the field does not yet exist, select New field... and then enter the new field name:
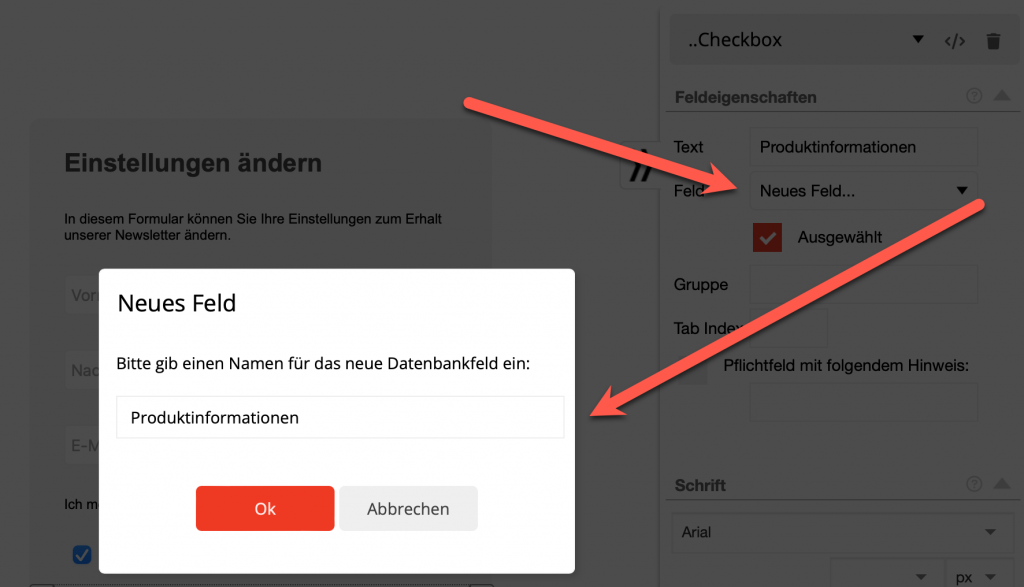
Save the form and close the editor. Your form is displayed in the list of your forms as follows:
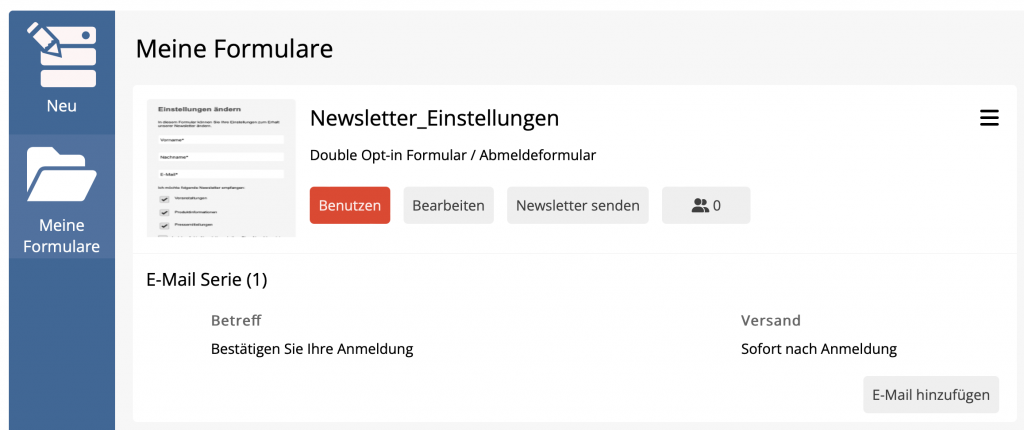
An email confirming your registration has been generated automatically. You may need to add your imprint here.
Add with email you can add another email that is sent automatically after the form has been sent. For example, you could send an email thanking them for updating the data.
Link form with newsletter
Next, we want to insert a link to our form in our newsletter, with which you can change your own settings. We will create a new newsletter for this.
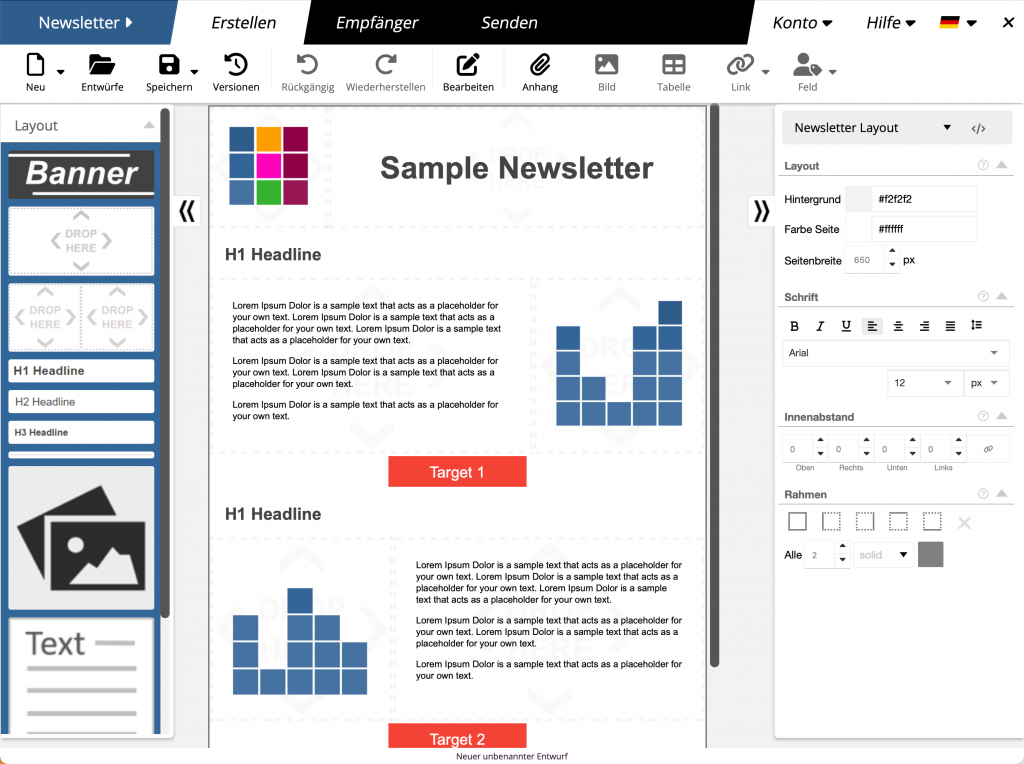
At the bottom left there is a link with the inscription Unsubscribe from the newsletter:
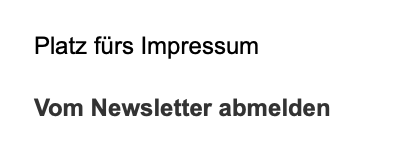
Click with the mouse on the link Unsubscribe from the newsletter and change the text to 'Unsubscribe/change newsletter settings'. The hyperlink is set to the Newsletter_Settings form and the option Fill in with user data selected.
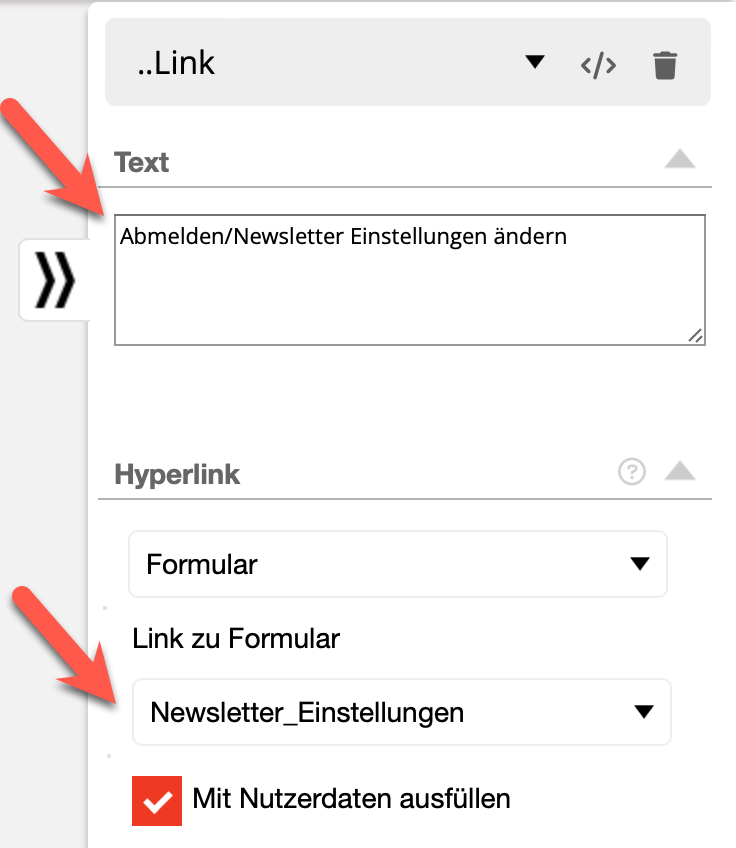
The option Fill in with user data ensures that all user data is filled in automatically when the link is clicked. This only works if the email address matches the address entry in the recipient list after a newsletter has been sent. This prevents an unauthorized person from viewing or changing the data of other recipients.
The link will not work in the preview or a test email, but only after a real mailing has been sent.
Note for cobra customers
If you use cobra, make sure that before sending the newsletter, all fields that are requested in the form have been checked with Create newsletter in the tab Personalization fields be transferred.
 Deutsch
  English