
Send newsletter to cobra recherche
First, let's look at the functionality for creating a newsletter. To do this, research a list of test addresses in cobra and then click on the Create newsletter in the ribbon bar.
Transfer addresses
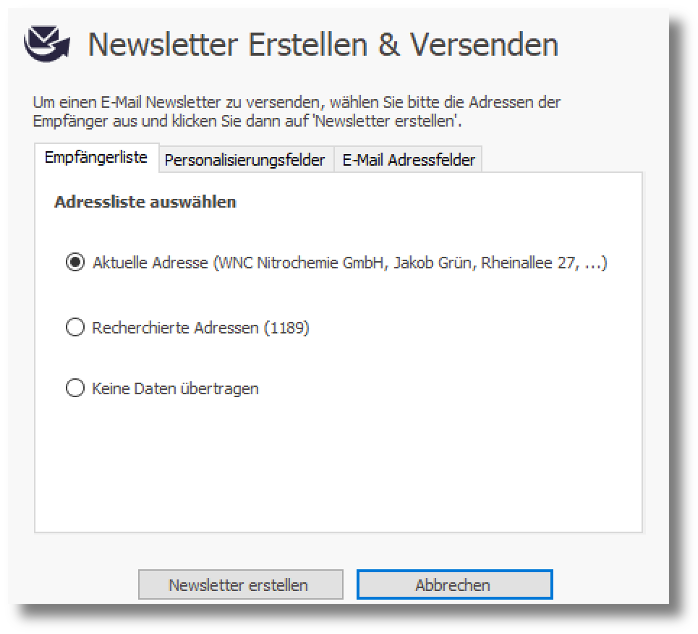
A dialog opens in which you can select a list of recipients: either the currently selected address or the list of addresses currently being researched.
If you do not want to transfer any data at the moment because you may have already uploaded a list and want to continue working with it, select the third option.
Personalization fields
In the tab Personalization fields Select the fields to be used in the mailing for personalization.
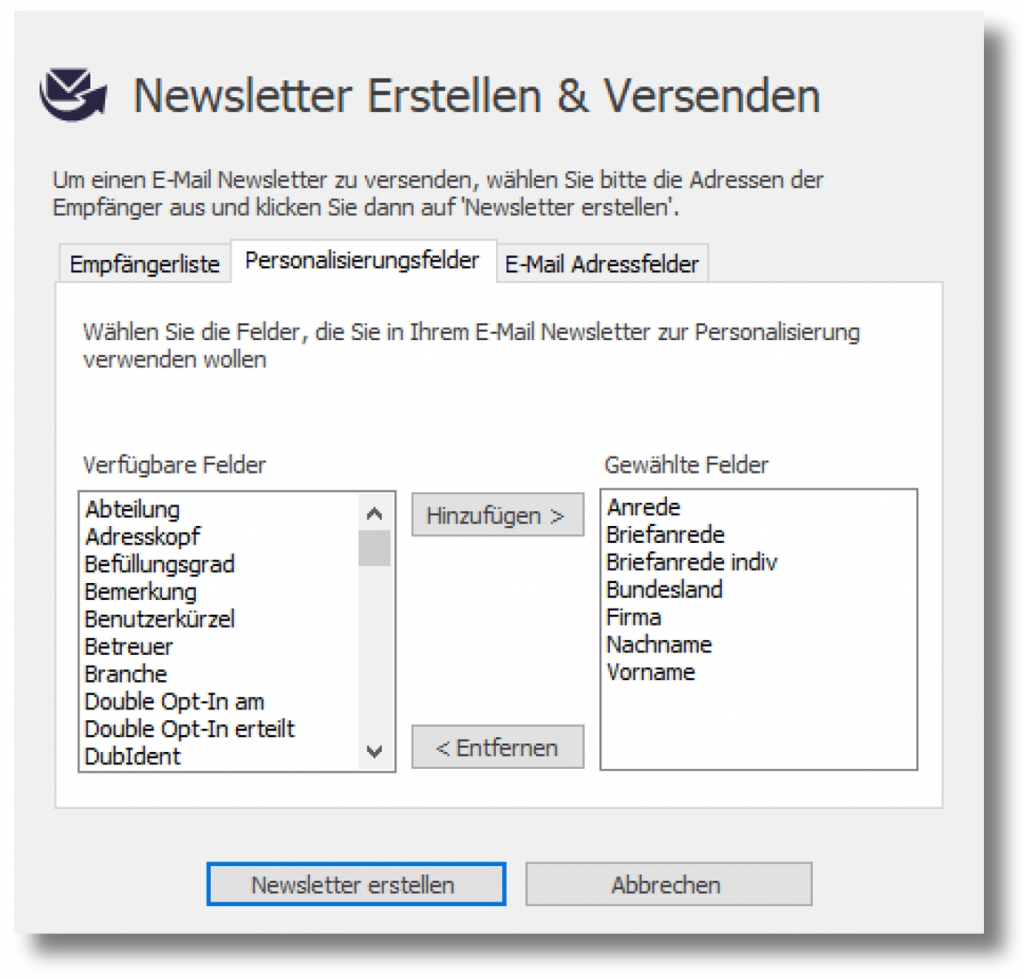
On the left side there is a list of all fields that are available in your cobra address database. On the right is a list of all errors that are to be transferred to the dispatch server for personalization.
As the cobra address database contains a large number of fields and the principle of data economy should be applied, we recommend only transferring the fields required for mailing and personalization. In most cases, the letter salutation is sufficient as the only field.
email address fields
In the tab email address fields the email address field can be prioritized. This means that if no address is found in the first email field, the system checks whether there is an email address in another field.
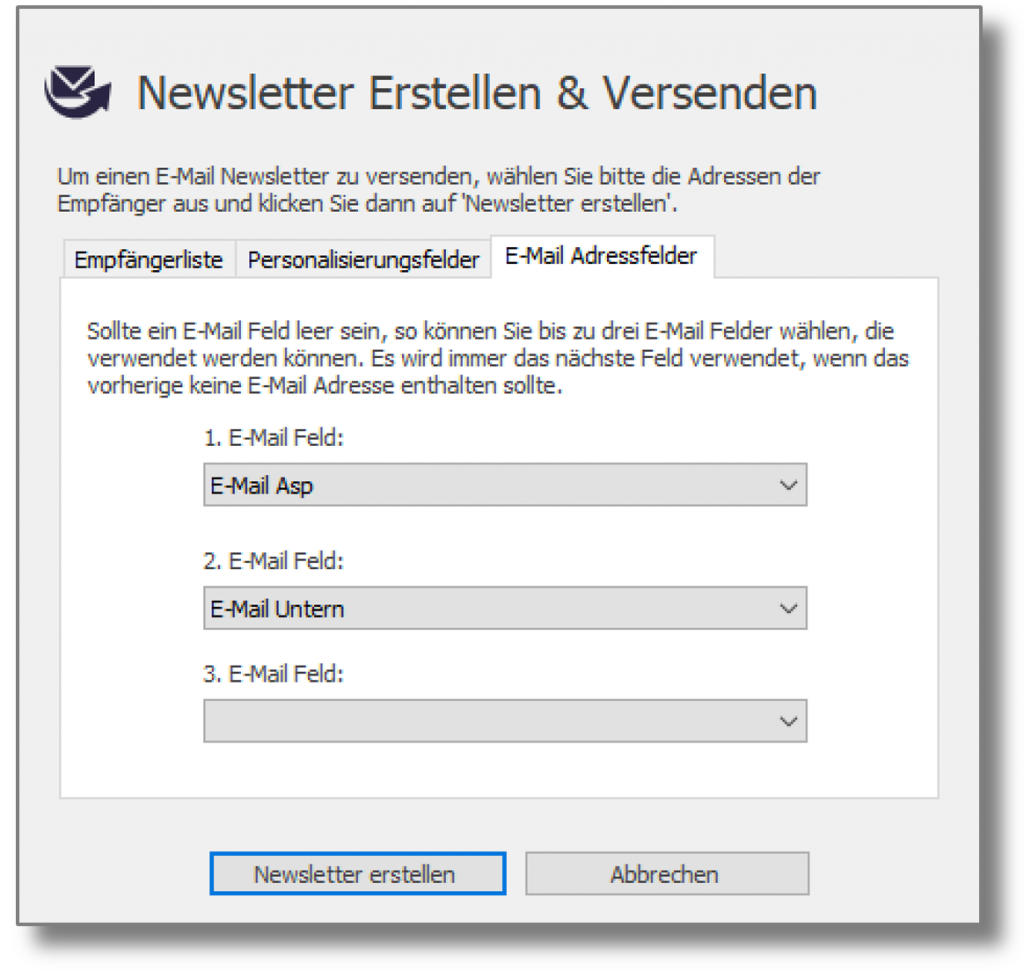
By clicking on Create newsletter the add-in transmits the selected recipient list to the News & Mail Service server and then opens a browser window with which you can create and send your email newsletter.
Handling of duplicate email addresses
If the system finds duplicate addresses, the following dialog box appears. Here you can specify whether the email should be sent to duplicate email addresses or not:
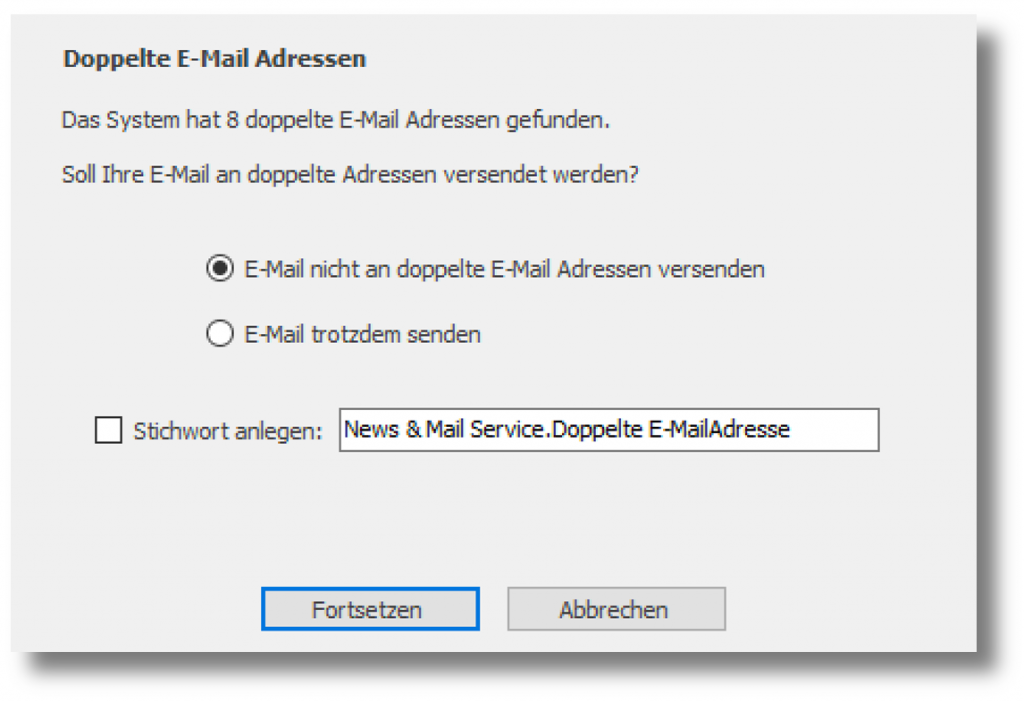
With the option: "Create keyword", the system assigns a keyword to duplicate recipients so that they can be researched later.
After your data has been transferred, a browser window opens with the online area for Creating and sending a newsletter.