Import form entries
To import the form entries, open your cobra, select the [MNR_ProductName] tab in the cobra ribbon bar and then click on Import entries.
The system opens a window with a list of your forms and the number of new registrations available for download:
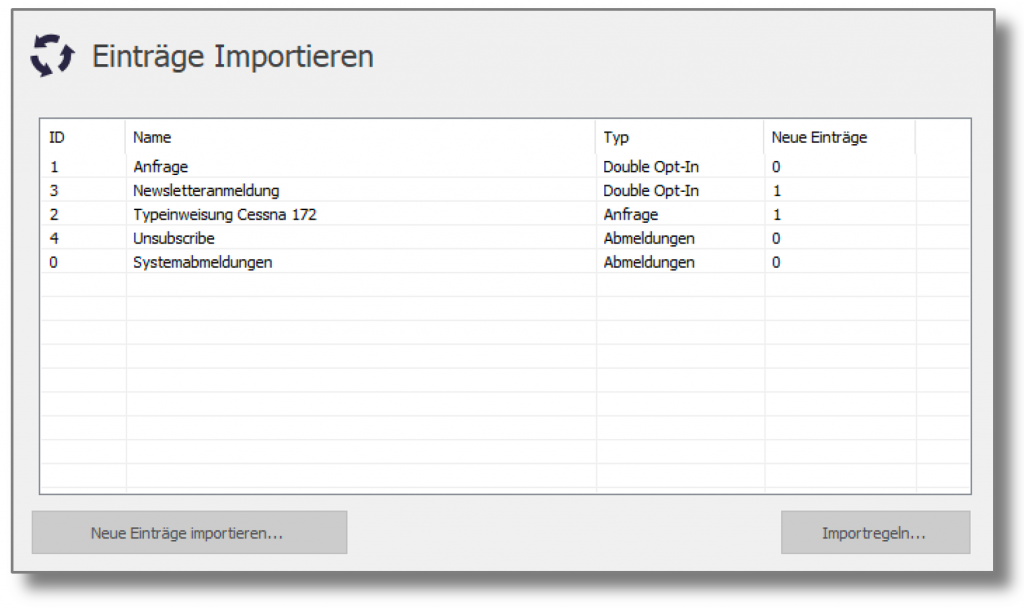
Registrations must be imported individually for each form. Select a form and then click on Import new entries...
A window with a detailed list of all new entries appears:
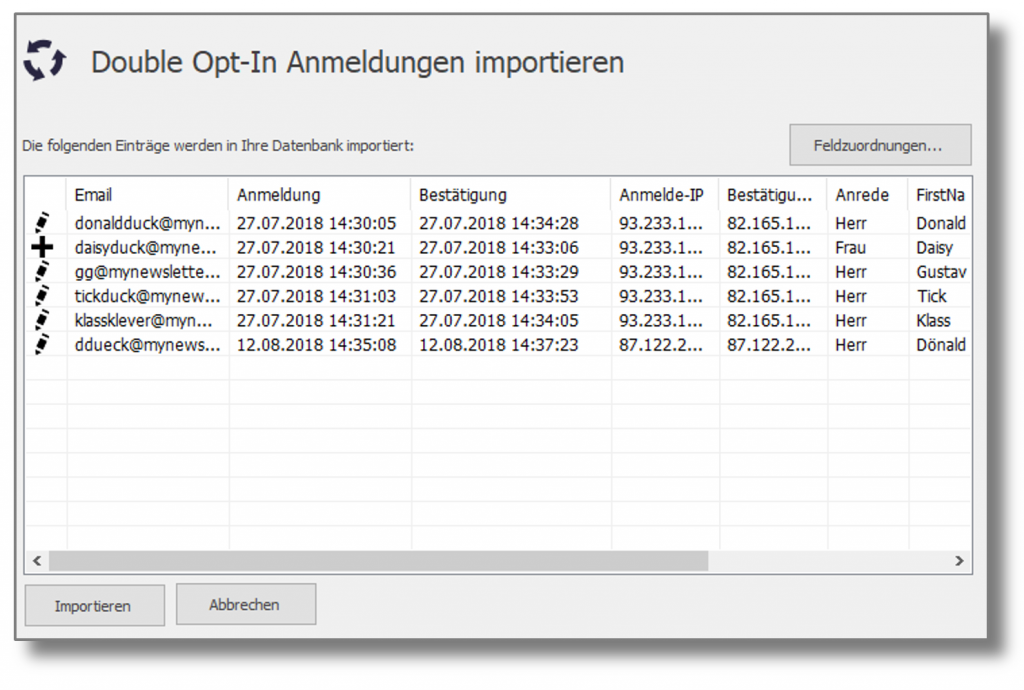
The icon on the left-hand side of each entry has the following meaning:
| The address is new and will be added to your cobra | |
| The address was found in cobra, the values are processed according to the import rules | |
| The entry has been removed from the list of entries to be imported and will not be processed |
If you want an entry to be ignored, right-click on the entry and select Remove.
Click on Importto import the data into your cobra. After the import, a list of the imported entries is sent back to the server so that they are marked accordingly and are not offered for import a second time.
You will receive a brief overview of the processed entries and the option to research them.
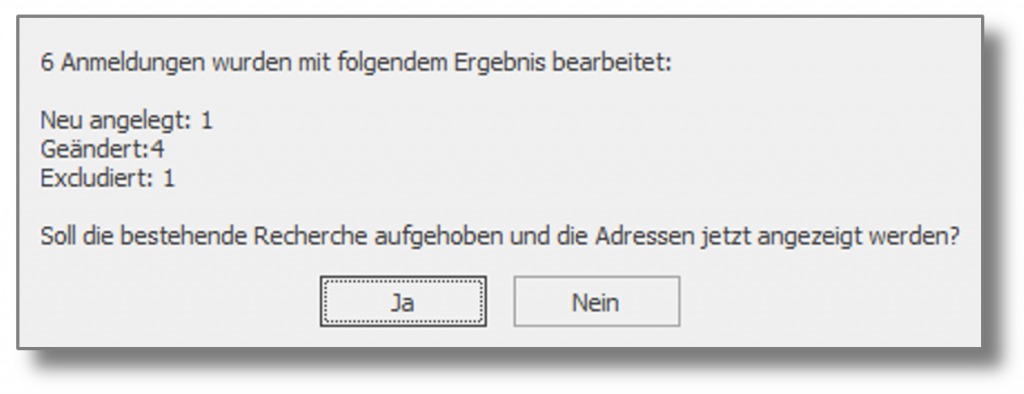
The search is then stored in cobra, but not automatically displayed (this is unfortunately not possible for technical reasons).
Import rules
Use the Import rules button to determine how the values of the selected form are imported into your cobra. There is a drop-down list at the top right from which you can select the table into which the entries are to be imported.
Field assignments
The field assignments define the rules according to which the values of the fields contained in the form are to be imported into your cobra.

The column Form field contains all fields contained in the form, as well as the following additional fields:
- Time registration form: Time at which the form was sent
- IP registration form: IP address at the time of sending
- Form URL: URL on which the form is located
There are also double opt-in forms:
- Double opt-in granted: Yes/No, correspondence of the field in the cobra database
- Double opt-in time confirmation: Time at which the double opt-in process was verified by the confirmation link
- Double opt-in IP confirmation: IP with which the double opt-in process was verified by the confirmation link
In the column Data field select the field from your cobra database in which the value of the form is to be written.
With the Import rules you determine how the values are handled if an address entry with the e-mail address is found in your cobra:
- Overwrite if old value is empty only writes the new value from the form to the database if the field in the database is empty.
- Overwrite if old value = yes overwrites the old value with the new value from the form only if the old value = yes.
- Overwrite if old value = no overwrites the old value with the new value from the form only if the old value = no.
- Always overwrite overwrites the value in any case
- Never overwrite ignores the value and does nothing.
Recommendation: Configure the field Double opt-in granted so that the value of the field in your cobra is only overwritten if the old value No corresponds. Otherwise, a customer may send the form again at a later date without registering for the newsletter again.
Yes/No Assignments
With yes/no assignments, yes/no fields in cobra can be activated (set to yes) or deactivated (set to no) regardless of the content of the form:

In this example, the field Double opt-in granted always on Yes is set, while the fields Inactive address and No e-mails on no regardless of the content of the form.
Keywords
Each imported address is assigned a Keyword for registration so that you can easily research the addresses later. Keyword levels are separated from each other with double minus.

Depending on whether there is a double opt-in confirmation or not, a separate keyword can be assigned.
In addition, checkboxes selected in the form can also be created as keywords or unselected checkboxes can be removed from the keywords.
Example:
Your form has checkboxes for the newsletter Events and the newsletter Product innovations. If the checkbox Product innovations is selected, a keyword Newsletter.product news created, while a keyword Newsletter.events is removed because the box was not selected. In this way, you can also implement unsubscribe forms where subscribers can specifically unsubscribe from individual subject areas.
Contact notes
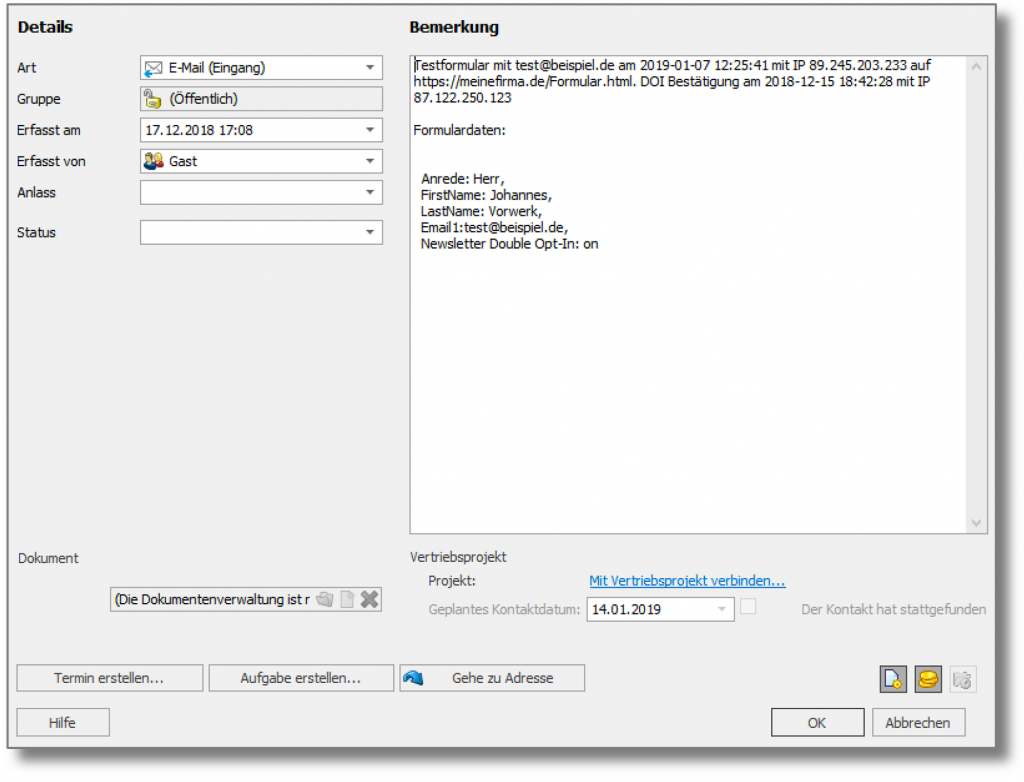
The address can be a Contact note which notes the registration as an incoming email by default and contains the exact registration data. Here too, a contact note can be created both when the form is sent and when a double opt-in is confirmed in order to be able to record processes separately for forms with optional double opt-in.

The following personalization fields are available:
- [Email]: Email address that was entered in the form and for which a double opt-in verification may exist
- [Date]: Date and time when the form was submitted
- [IP]: IP address with which the form was sent
- [FormURL]: URL where the form is located
- [ConfDate]: Date and time of the double opt-in confirmation
- [ConfIP]: IP address of the double opt-in confirmation
Contact type, occasion and status can also be defined.
Click on Okto save the import rules.
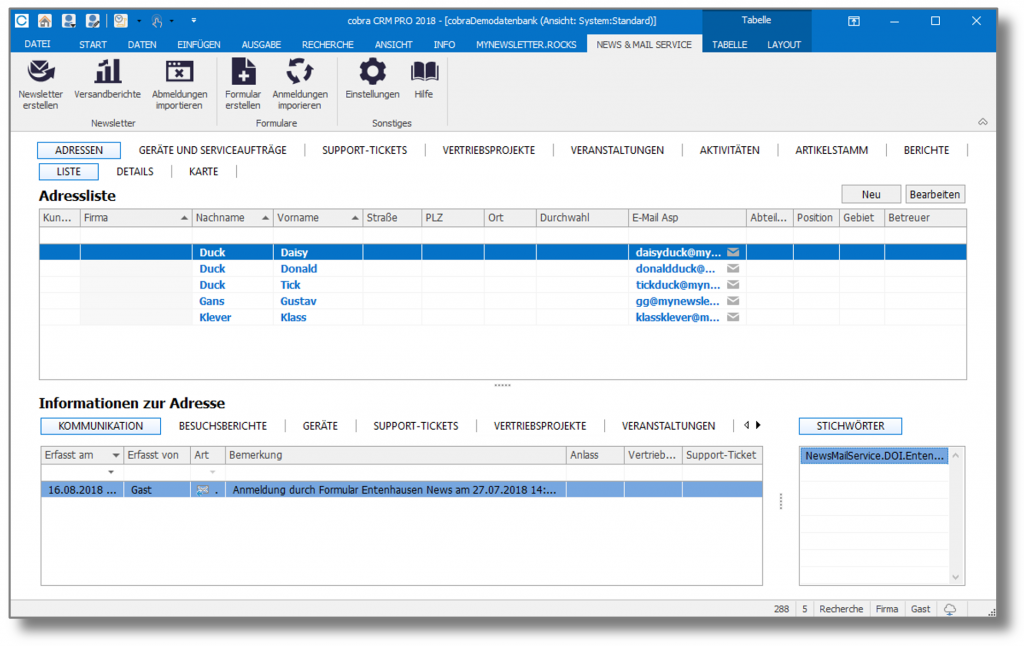
The following screenshot shows an example of a contact note:
