
Connect JTL-Shop
Öffnen Sie in mailfino Integrations in mailfino and create a new connection. Select JTL-Shop aus.
Enter the shop URL, for example https://shop.example.com, und fügen Sie den Connector-Benutzer sowie den API-Key aus den JTL-Shop Plugin-Einstellungen ein.
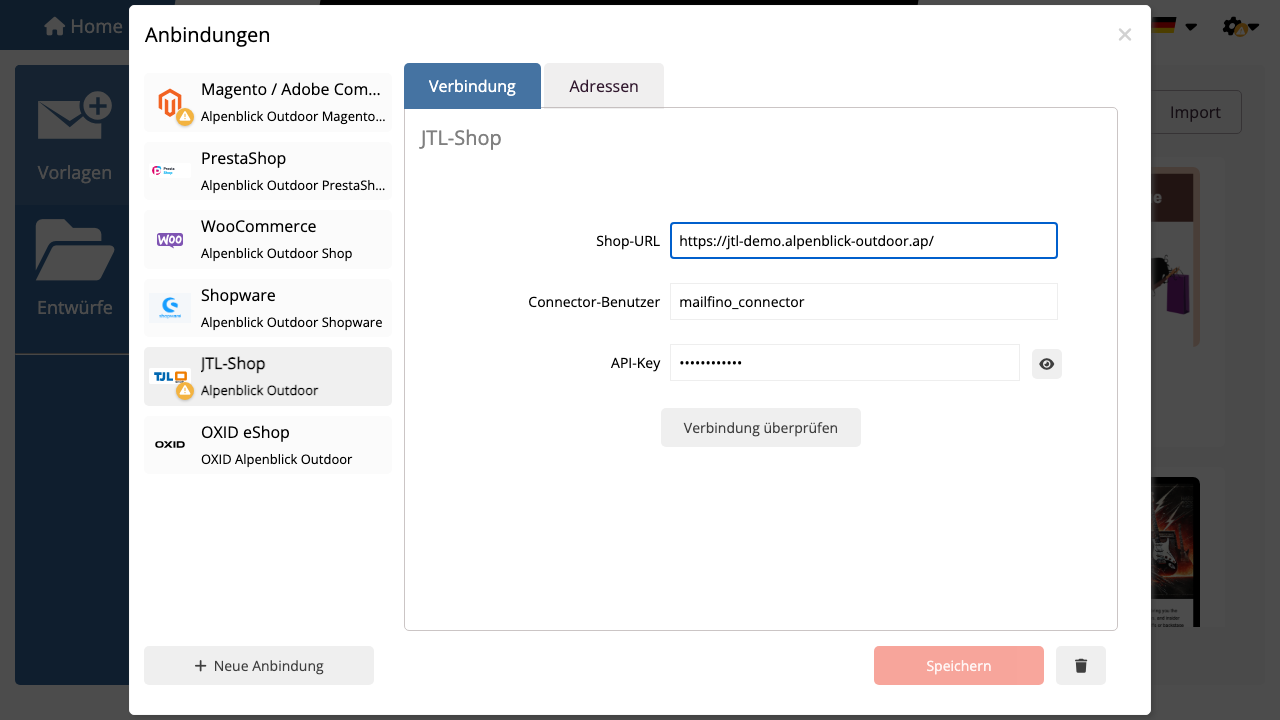
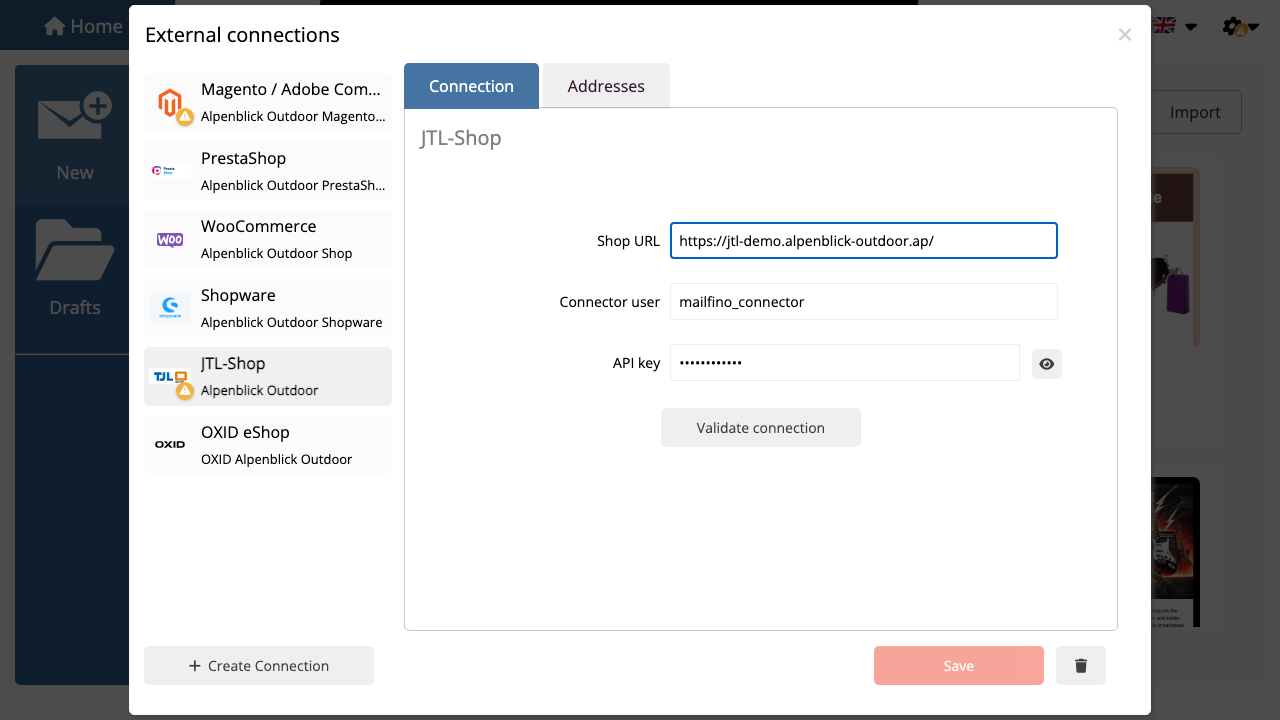
Click on Validate connection. mailfino liest dafür eine kleine Kundenseite über den Connector. Wenn die Prüfung erfolgreich ist, speichern Sie die Anbindung.
If validation fails, check these points first:
- Ist das Plugin installiert und aktiviert?
- Ist der Connector eingeschaltet?
- Sind Connector-Benutzer und API-Key korrekt?
- Ist
/mailfino/api/customersvon mailfino aus erreichbar? - Sind Kunden-Leserechte im Plugin aktiviert?
Open Integrations in mailfino and create a new connection. Select JTL-Shop.
Enter the shop URL, connector user, and API key from the JTL-Shop plugin settings. Then validate and save the connection.
If validation fails, check that the plugin is installed and enabled, the credentials are correct, /mailfino/api/customers is reachable, and customer read access is enabled in the plugin.
 Deutsch
  English